|
Move same image | Different images Transition | How To’s | Drawing | Image Ready: Animate |
|
Animated Flash Directions Created by Floyd Jay Winters last modified 11/30/06, 03/19/2011 To save time - READ EVERYTHING BEFORE DOING NEW FLASH.
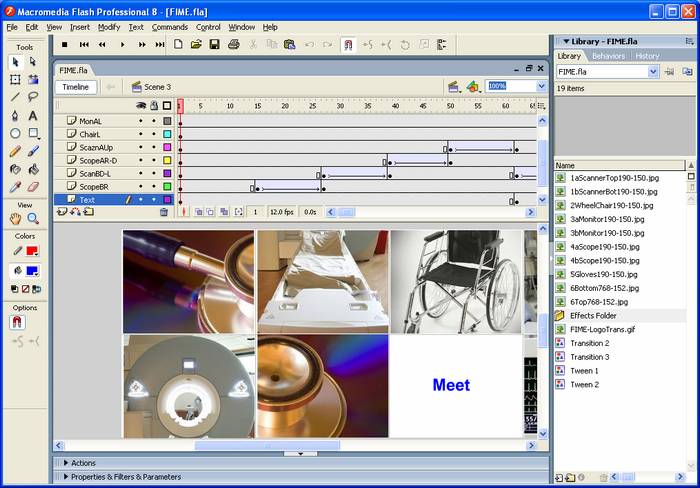
Part I: Animations - SAME image moves to a new location 0. File > New > Flash Document 1. Set Stage Area (preview area): Right-Click Stage > Documents Properties, set Stage dimensions & FPS OR Modify > Document: (FPS = Frames per second – often 12) 2. Setup Gridlines to help with alignment: View > Grid > Edit Grid 3. Import images: File > Import > Import to Library (Use Shift + Click to import a whole set) 4. Make sure Timeline is visible: Window > Timeline Empty frames are white, occupied frames (add either an image or text) are gray. 5a. Insert > Timeline > Layer 5b. Click on the desired start position of a Timeline Layer then Drag images from Library to Stage (preview area). 5c. Right-Click on desired end position of a Timeline Layer and choose Insert Keyframe. 5d. Tap [Enter] to Preview (or choose Control > Play) 6. To make an image move – a. Click on the first frame of a frameset and drag the image to the desired location on the stage for the first frame. – This puts the image on the entire layer. b. Add a new Keyframe to start a new frame set. Insert > Timeline > Keyframe c. Click on the new Keyframe and drag the image to the new location on the stage. 7. If you want a Transition, you must add a new layer for each image that will move: To add a new layer: Insert > Timeline > Layer 8. A Black dot in the bottom of a frame indicates that it is a Keyframe – start of a frameset 9. Add more frames to first frameset: Click an empty frame (empty frames are white) that will be the end, Insert > Timeline > Frame or hold [Ctrl] to get Resizing arrows and drag the arrow When you drag an image to a new frame the timeline frames turn from white to gray. 10. Add next frameset, click on next empty frame: Insert > Timeline > Keyframe Note: - you will have to add frames to the first layer (click at last frame, Insert > Timeline > Frame) to match up with the frames from the second layer if you still want the first layer images/text to show. 11. Click on first frame of new frameset, and drag image on stage to its new desired location 12a. To see animation: Click on frame one and simply tap [Enter] or Control > Play 12b. To preview movie: [Control] + [Enter] or Control > Test Movie
To Tween or Ease the Transition or give a smooth appearance of animation: 1. In the Timeline, in a particular layer, select the frames that will move: Highlight the first and next keyframes. 2. In the Property inspector, (Windows > Properties) (or Right-click > Create Motion Tween) a. in the Tween box select: Motion b. then drag the Ease slider down until the value is -100. This will provide the maximum amount of easing in, thereby causing the image motion to start slowly and accelerate. 3. If dotted lines appear on other frames that are not intended to Tween: highlight them and set the Tween Box to None
When done, to make a .SWF (ShockWaveFlash) movie: File > Export > Export Movie
To keep the .SWF file from repeating or going in a continuous loop: 1. Select the last frame of the last layer. 2. Open the Action Panel. 3. Click the [+]. > Global Functions > Timeline Control > Stop
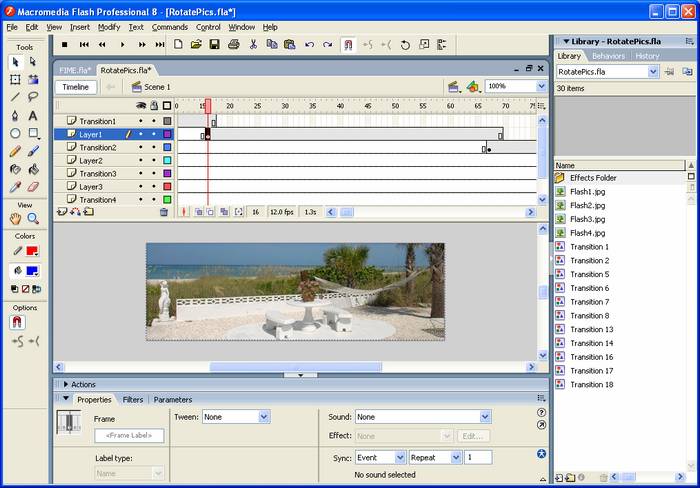
Part II: one image TRANSITIONS into another image Modify > Document to set size (Basic Idea – load Image1 in first layer – make it a transition – (Layer name: Transition1.) Load Image1 again in second layer (Layer name: Layer1) as an image. Load Image2 in third layer - make it a transition. (Layer name: Transition2). Load Image2 again in forth layer (Layer name: Layer2) as an image.
To View the Animation: [Ctrl] + [Enter] to view animation or Control > Test Movie When done: .SWF – ShockWaveFlash – File > Export > Export Movie
To make sure images are lined up: under Info Panel (Window > Info) set X and Y axis to 0, 0 You must Name each Frame if you want to drag it so that it extends to other frames – plays longer. To move the location of a Keyframe: Click the black dot (it will turn red) then can you drag it. Not click and drag.
When you name it a Red arrow appears – Click it and it turns Green. Grab the green arrow and drag to stop point, then click, select and drag block dot to start point. If the timeline is set up at 12fps then 60 = 5 seconds. (You can right-click on the guideline to set properties) The properties panel has a Tween property dropdown (None, Motion, Shape) that appears if you click the Timeline. The red vertical line on the Timeline is the Playhead: you can drag to see the animation step-by-step.
Part III: How To’s · To Make sure Timeline is Visible: Window > Timeline · To Add a New Layer: Insert > Timeline > Layer · To Rename a Layer: Slowly double-click on layer box. · To Reorder Layers: You can drag layers up or down to reorder · To Add a New Keyframe to start a new frame set. Insert > Timeline > Keyframe · To Move the Location of a Keyframe: Click the black dot (it will turn red) then can you drag it. Not click and drag. · To Add more frames to first frameset: Click an empty frame (empty frames are white) that will be the end, Insert > Timeline > Frame or hold [Ctrl] to get Resizing arrows and drag the arrow · To Import images: File > Import > Import to Library (Use Shift + Click to import a whole set), then you can Drag images from Library to stage · To Replace an Image in the Library: Right-click the image > Update – this will also replace the image on the stage. · To Swap Symbols, like Movie-clip Symbols – Right-click the object and choose Swap Symbol. · To make sure images are Lined up: under Info Panel (Window > Info) set X and Y axis to 0, 0 · To add a Transition: Insert > Timeline Effects > Transform Transition > Transition · To View the Animation: [Ctrl] + [Enter] to view animation or Control > Test Movie · To walkthrough the animation step-by-step – Drag the Playhead (red vertical line on the Timeline) ·
To Tween or Ease the Transition or give a smooth appearance of animation: · Movie clip with blur entry: Add Picture. Click on picture to select it and tap [F8] to convert it to a Movie clip. In the dialog box, for Type, click the Movie clip radio button. On the Properties Panel, there is a Filters Tab, Click the [+] icon and you can add a Blur. ·
To keep
the .SWF file from repeating or going in a continuous loop: · To make a .SWF (ShockWaveFlash) movie: File > Export > Export Movie
Part IV: Other Flash Notes - DRAWING: To center a circle from the drag point: [Alt] + Circle Drag To keep circle round: [Shift] + Circle –
Pen Tool – Draws by points – click, click, click on start and make a triangle. Click + [Shift] gives you a straight line.
Click and Drag the pen can make a curve. [Alt] + Pen can select curves [Ctrl] + Pen can move points. [Ctrl] + [Alt] can make point into a curve. To Delete a point hover over point till [-] appears next to Pen
Double-click the middle of an object (that may be of multiple parts – outside outline {Stroke} and inside fill) to select the entire thing before a move. ([Ctrl] + G to Group)
Part V: Using Adobe Image Ready to make Animated GIFs 1. Open FileName1.GIF – this will be your first layer. 2. Choose Layer > New > Layer – this will be your second frame 3. Double-click the new Layer2 or right-click it and choose Layer Options to give it a name 4. Select the new Layer2 then choose File > Place – Open FileName2.GIF – it goes to Layer2 5. Choose Window > Show Animation to make sure the Animation Panel is visible 6. Click the (>) button in the upper right corner of the Animation Panel and choose Make Frames From Layers – this will take all of your layers and make them into frames for animation. 7. Click the dropdown under each image to set the timing. 8. Click the (>) button in the upper right corner of the Animation Panel and choose Tween to make a transition between frames. Or select two contiguous frames and click the Tweens animation frames button at the bottom of the Animation Panel. 9. You can preview your animation by clicking on the Plays animation button at the bottom of the Animation Panel. 10. Choose File > Save Optimized As to make your Animated Gif |
|
Move same image | Different images Transition | How To’s | Drawing | Image Ready: Animate |