Animation (animated .gifs) with Adobe Photoshop CS3 & CS5By Floyd Jay Winters 03/07/08, 03/02/2010, 11/17/2011, 03/30/17 Adobe Photoshop will allow you to make animated gifs from jpgs. 1. Open Adobe Photoshop 2. File > Open > Browse, select and open your first image (it does not have to be a .gif at this point in time). 3. If necessary, if the image is locked for editing, choose Image > Mode > RGB - this will unlock it. Or, if necessary, double-click the lock icon on Layer 1 - the original image, and give it a name (use the name of the image) - which will also unlock it. 4. File > Place > Browse and select a 2nd image
(or Place Embedded on newer versions) 5. On newer versions of Photoshop choose Window > Timeline
to display the Animation panel, which is usually displayed at the bottom of the Photoshop
window. 6. On newer versions of Photoshop click the drop down button to
choose Create Frame Animation (instead of
Create Video Timeline). 7. Select the first Layer, which is your first image opened (see
lower right corner of Photoshop), then click the Make Frames From Layers
button in the middle of the panel. 8. If desired, select the 2nd Frame in the Animation (Frames) panel and click the
"Tweens animation frames" icon in the bottom toolbar to give you a smoother transition between images.
Choose "Tween with Previous Frame" and enter 1 for "Frames to
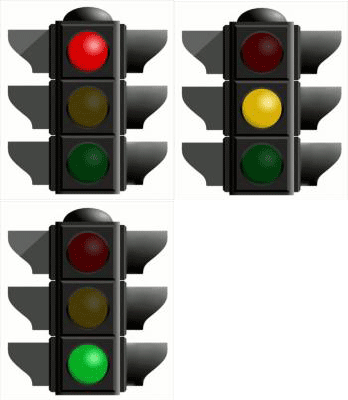
add" and click OK. Perhaps choose .2 seconds. However this transition effect take more memory - as in longer load time. 9. Click on the "sec" dropdowns to select the appropriate timing. 10. Highlight all the animation frames (the original and the tweens) then on the Animation [Frames] panel click the 3-line icon dropdown under the [x] and choose Optimize Animation. 11. On the bottom of the Animation [Frames] panel click the Play [>] button to test it. 12. Choose File > Save for Web > select the 4-Up display and be sure to select the .gif option. Then, if appropriate, select the optimal file size/resolution from the four windows displayed. There are also other settings that can be made such as the number of colors used, ranging from 2 or 16 or as high as 256. The more colors, the better the resolution, but the larger the file size. A single black and white line art image would only require 2 colors. One of the four choices for optimization is 100% dither. Dithered images approximate colors not available in the palette by a diffusion or halftoning of colored pixels from within the available palette. This may produce a graininess, or speckled appearance if there are relatively few colors in the image. The image below was made using the directions above. The red and green lights stay on for 5 seconds; yellow for 1 second.
|
